Capturing HDR Images with Ladybug series cameras
This article discusses using the Ladybug series of cameras to capture high dynamic range images or radiance maps.
Introduction
Generally speaking, digital camera systems are not capable of accurately capturing many of the high dynamic range scenes they are exposed to in real world settings. They may not be able to capture features in both the darkest and brightest areas of an image simultaneously, resulting in darker portions of an image that may be too dark, or brighter portions of an image that may be too bright.
In order to help overcome this problem, techniques have been developed that involve capturing several images in rapid succession with varying exposure settings. This series of images can then be combined into a single image called a radiance map. Such images are useful in a number of computer graphics applications.
Previously, it could be difficult to capture high dynamic range spherical image data because of the time required to capture images in all directions at multiple exposures.
The Ladybug series camera systems implement a special mode and series of registers that attempts to overcome this difficulty. The registers are designed to contain a set of 4 gain and shutter combinations for each of the camera's 6 sensors. Once programmed with an appropriate set of values, the camera can be set in 'HDR Mode' whereby it cycles through all of the register settings at a rate of one over the framerate. For example, in jpeg mode an image is taken every 1/16 of a second for the Ladybug3, one per 1/10 of a second for the Ladybug5, one per 1/30 for the Ladybug5+, and one per 1/15 for the Ladybug6 in jpeg mode.
The result is that users can capture high dynamic range spherical data in 4/16 of a second for the Ladybug3, 4/10 of a second for the Ladybug5, 4/30 for the Ladybug5+ and 4/15 for the Ladybug6.
Capturing HDR Images
There are two ways to capture HDR images using the Ladybug SDK:
-
- Using the ladybugCaptureHDRImage sample program
- Using the LadybugCapPro demo program
Using ladybugCaptureHDRImage
The ladybugCaptureHDRImage sample program is useful when you only need to capture a single image with the four HDR exposure settings. When executed, this program reads a series of shutter and gain settings from the camera configuration file, and takes four panoramic images using these values. The images can then be processed into a single image with external software such as Adobe Photoshop, PFStools or Qtpfsgui.
Using LadybugCapPro
If you want to use HDR functionality when taking successive shots, such as for a video, you can use the LadybugCapPro demo program. In the Camera Control Dialog, open the Advanced Features window. When Enable HDR is checked, you can specify four gain and four shutter settings, and use the Main Window to see how the images look.
Viewing successive images distinctly is easiest when the frame rate is temporarily lowered. The frame rate can be adjusted in the General Settings window of the Camera Control Dialog. When the HDR settings meet your requirements, you can start recording a stream file.
Note: Record your final HDR settings. These will be needed when configuring external software to combine each set of four images.
You can then use the Ladybug SDK to post-process the stream file to create panoramic images or 6 raw images for each frame. Finally, use external software to combine each set of four successive frames created with HDR.
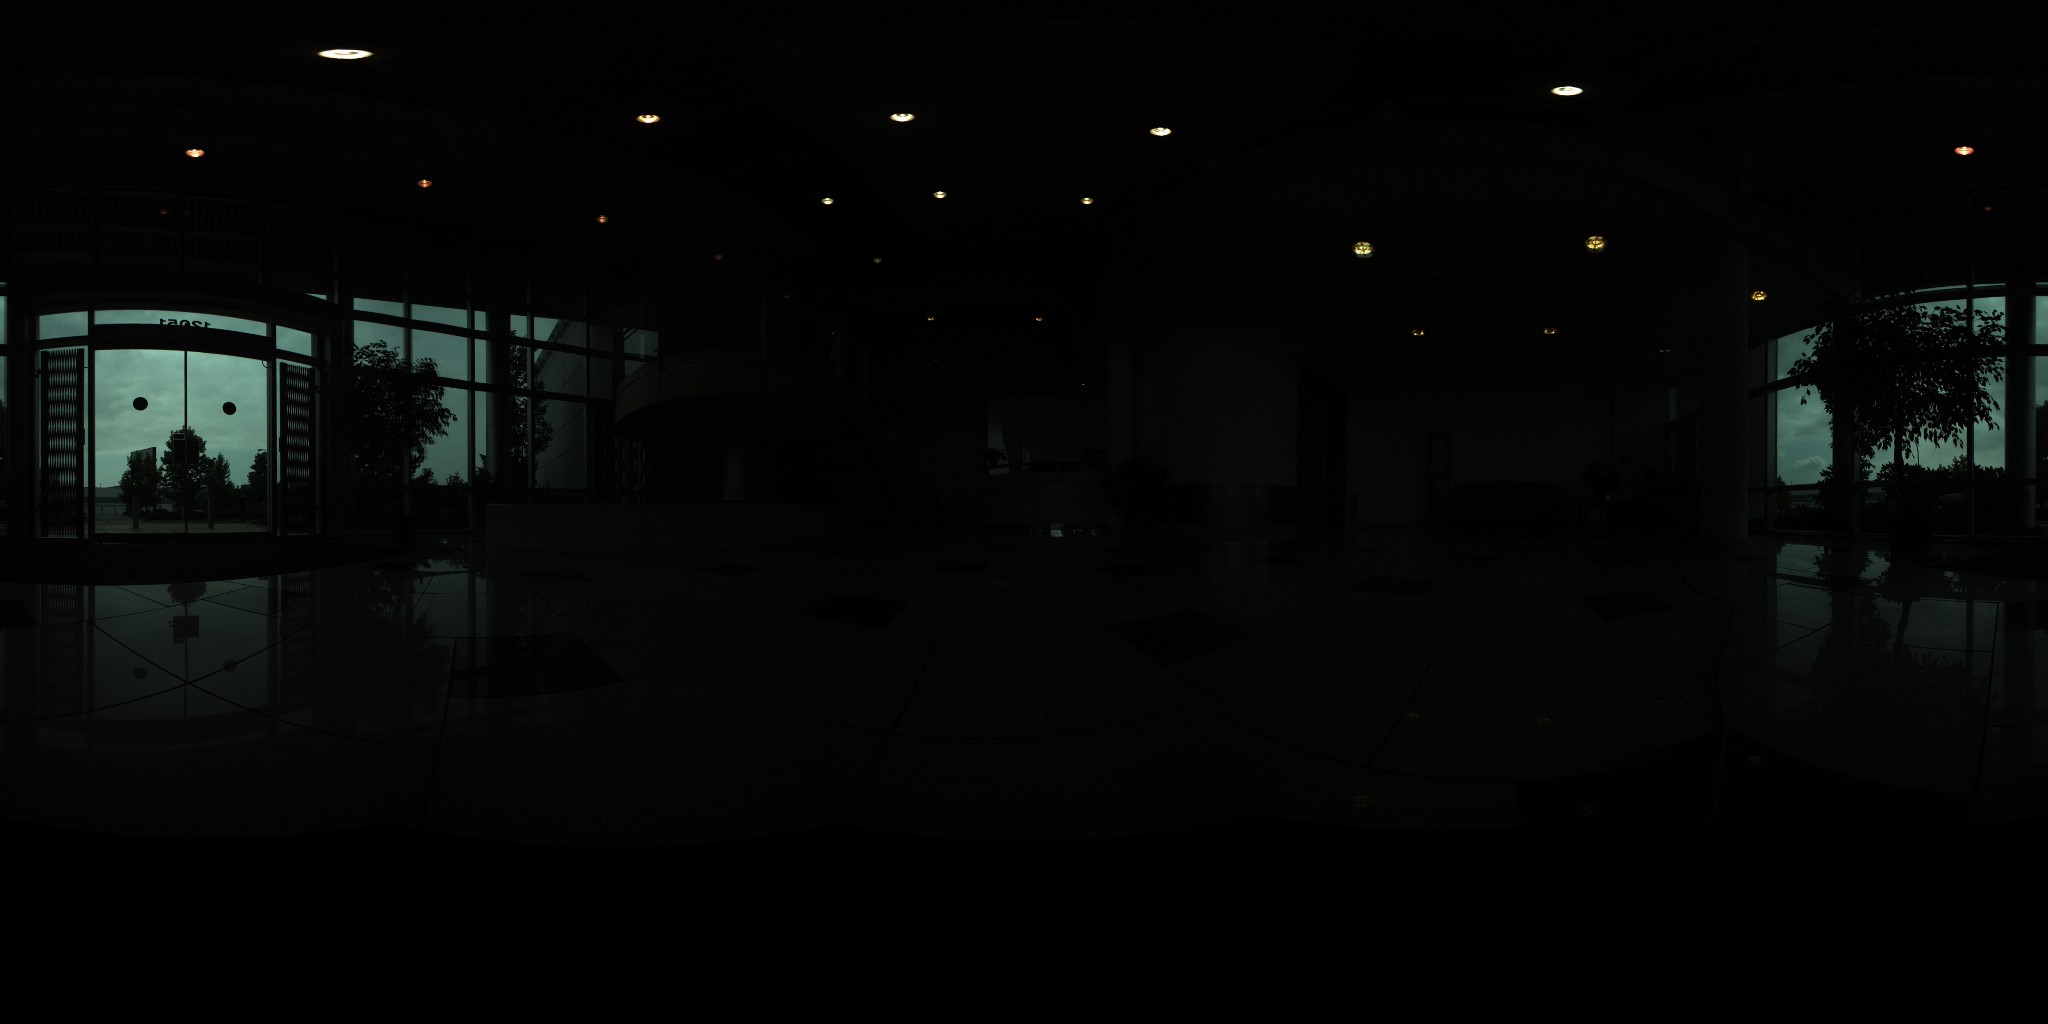
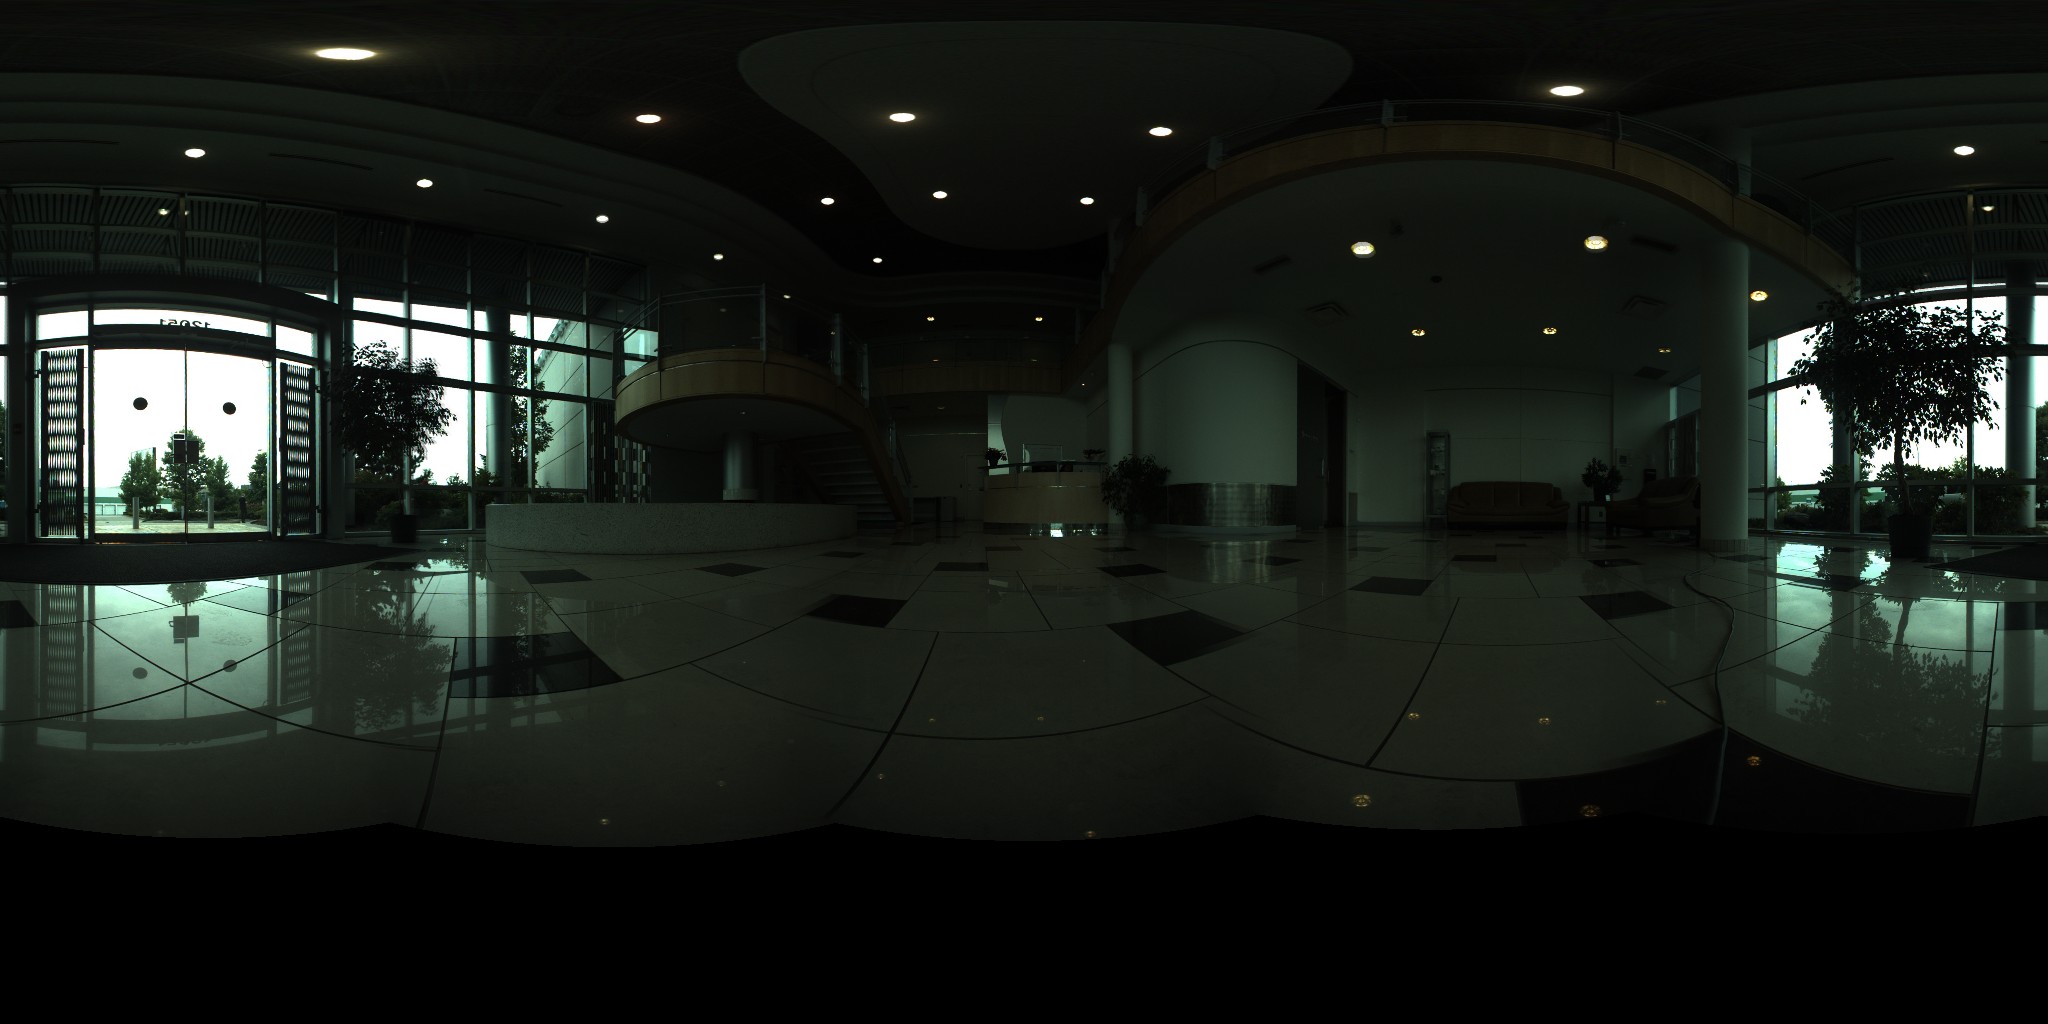
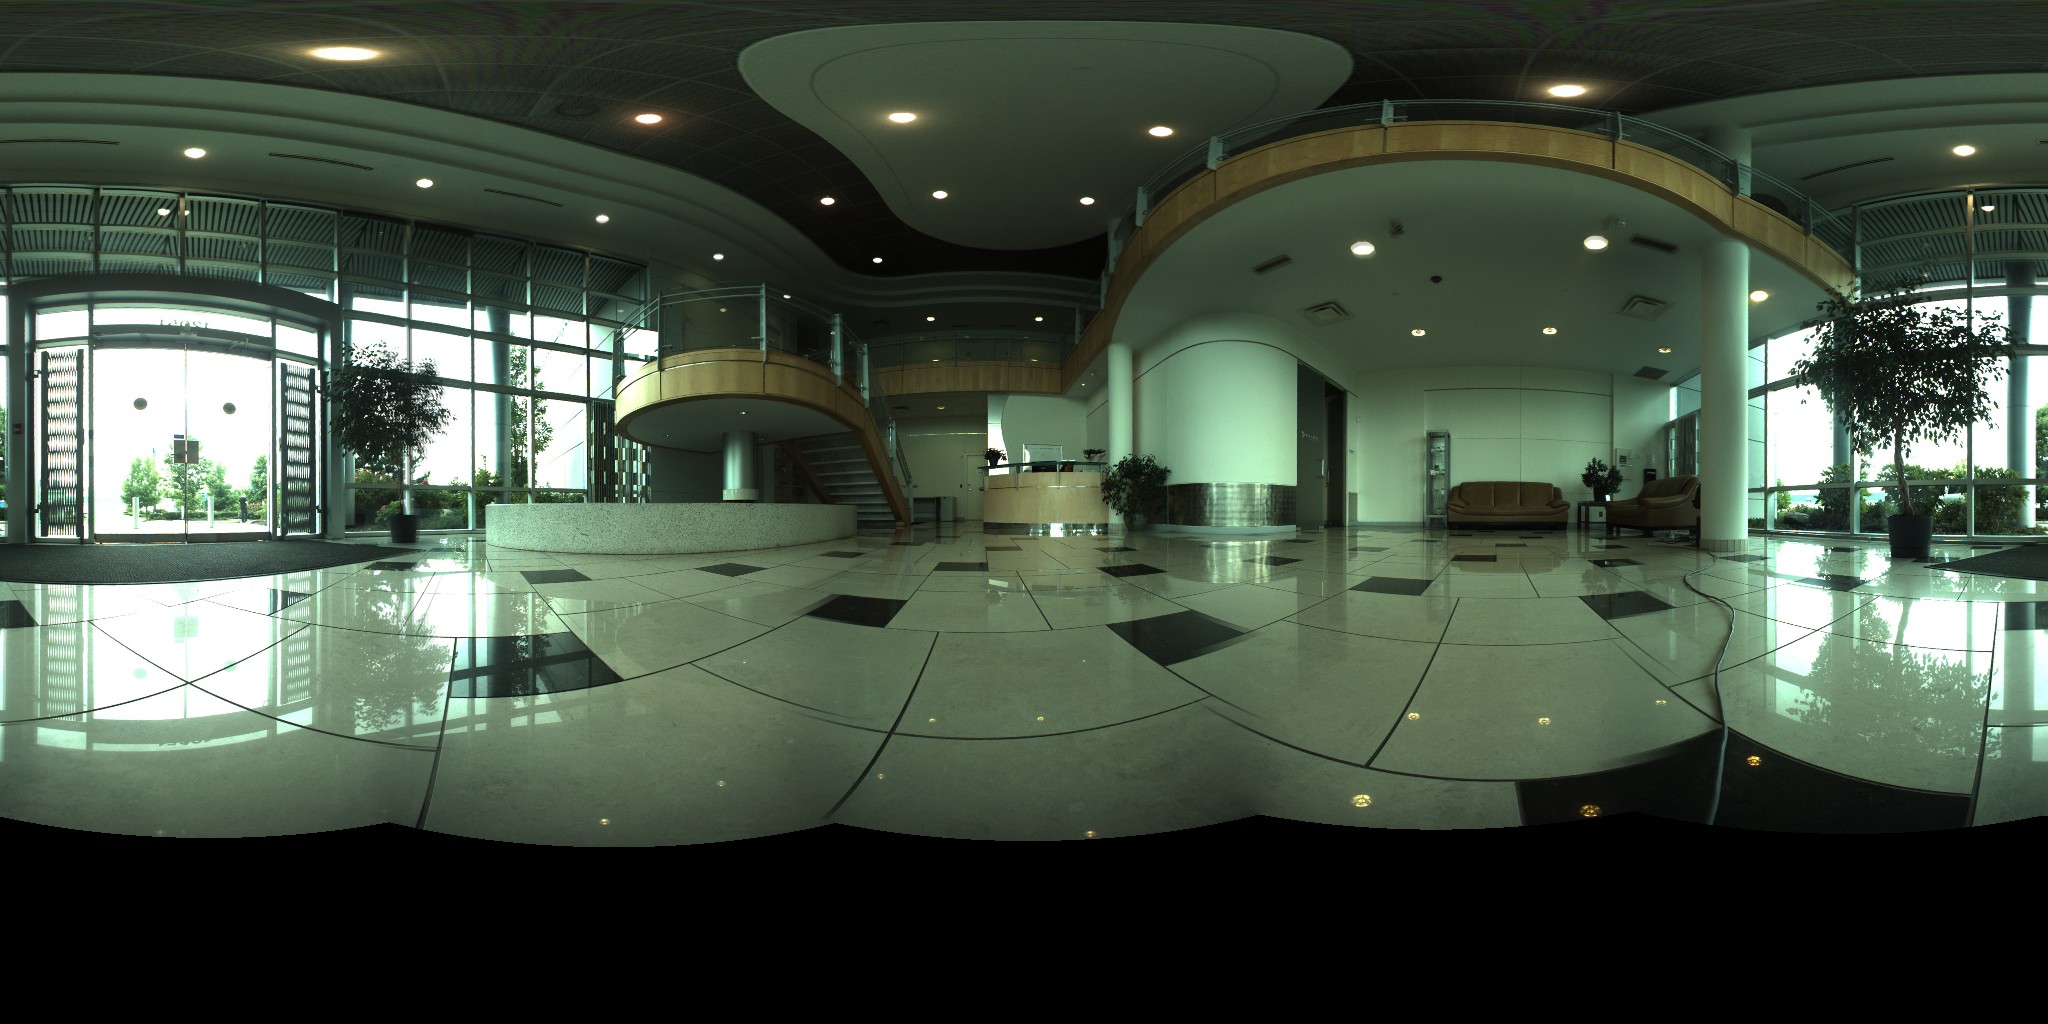
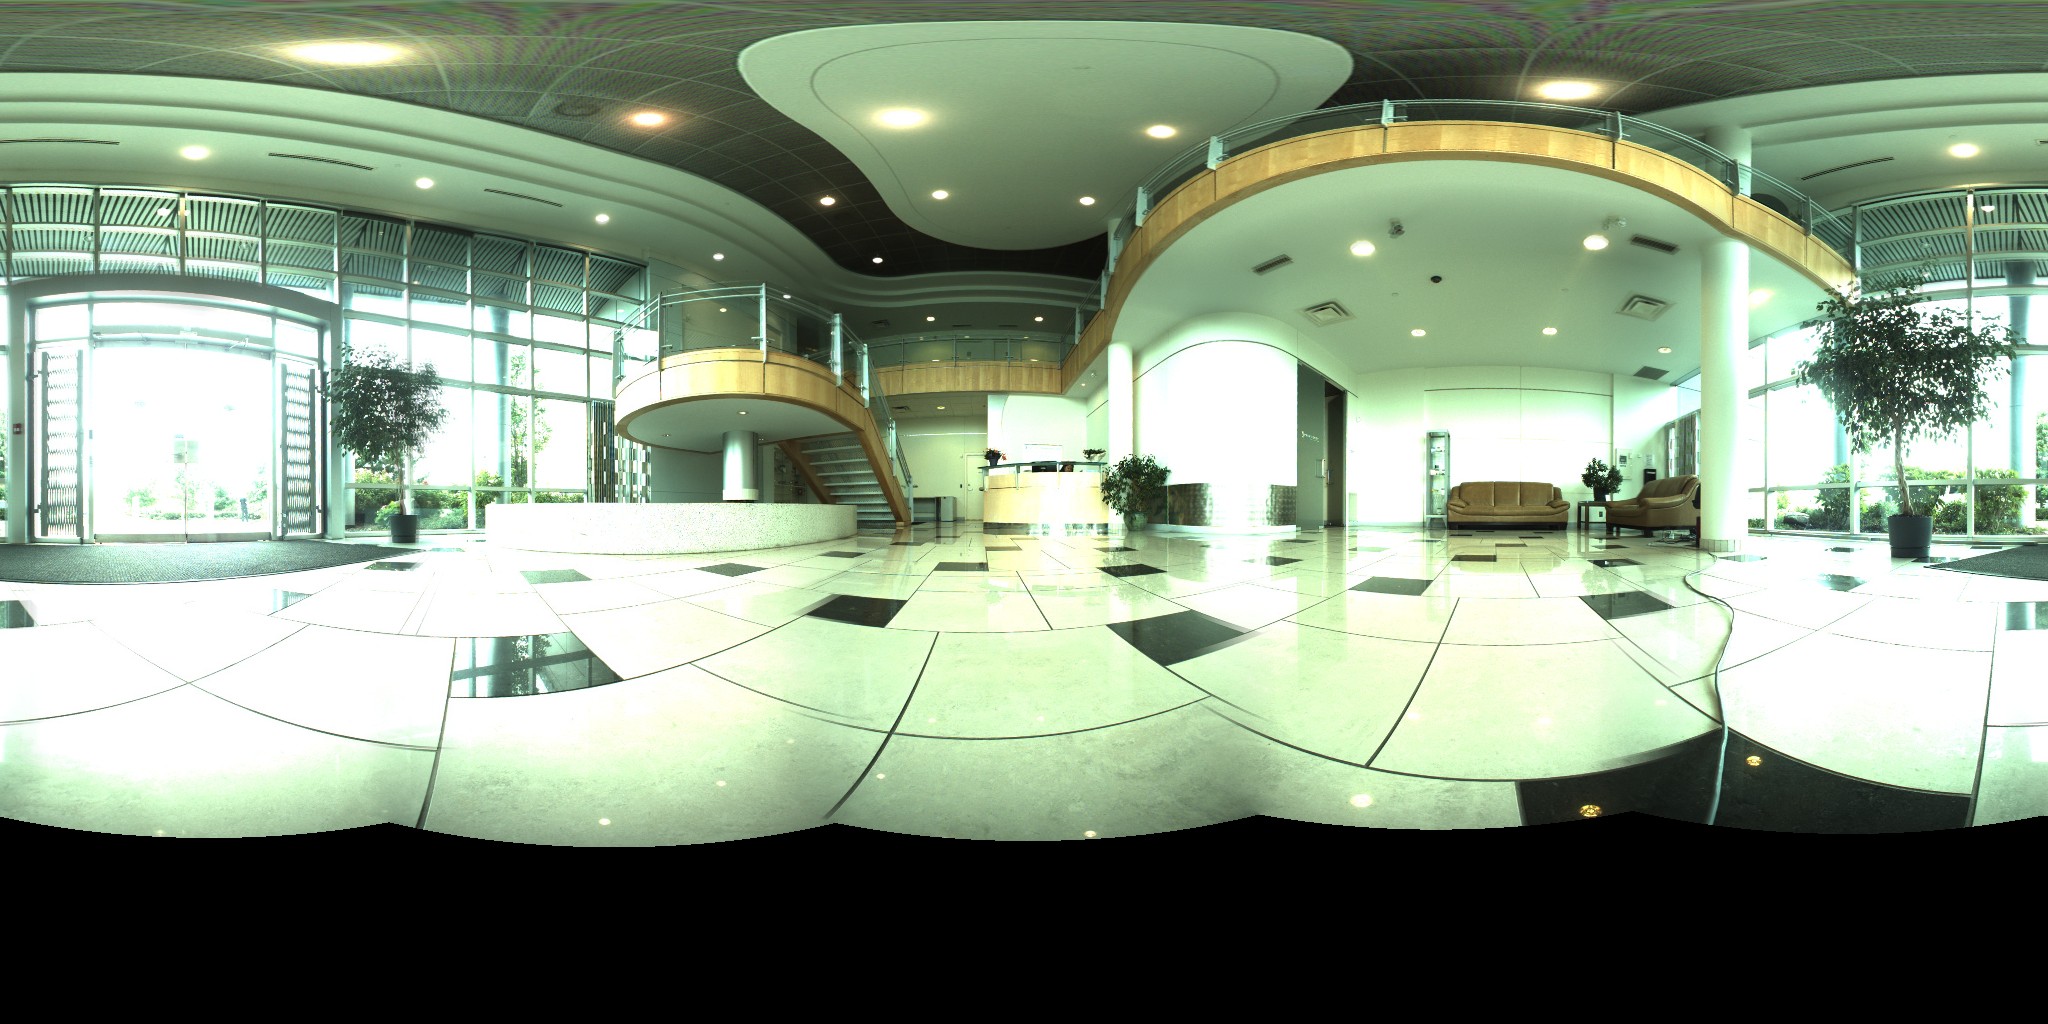
The animated image below shows four successive frames taken using four different gain and shutter HDR settings:
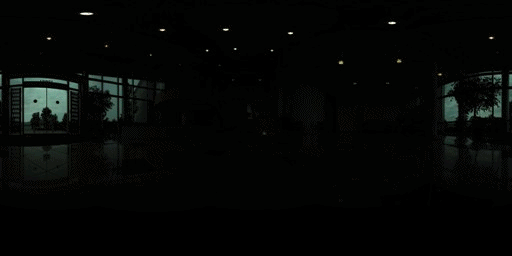
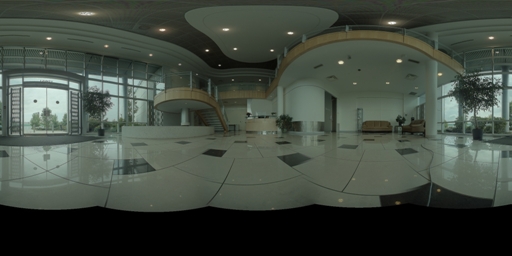
The tone mapping functionality of Qtpfsgui was used to produce the following image out of the four images above as input. Results may vary depending on tone mapping operator and parameters.

To access individual images at full size:
-
- Input Image #1
- Input Image #2
- Input image #3
- Input image #4
- Processed Image
- Input Image #1