How to Create Training Data for Deep Learning Classification
Capture Images
The SpinView camera evaluation application comes with Spinnaker SDK. It is required to stream and view data on the Firefly-DL. Using SpinView, we take pictures for every different class we want to classify. It is important to make sure that we take minimum pictures manually which would cover the majority of the different possible angles required and let the augmentation take care of replicating and creating more images to get an extensive training dataset. Before learning how to take images, it would be helpful to understand the process of augmentation.
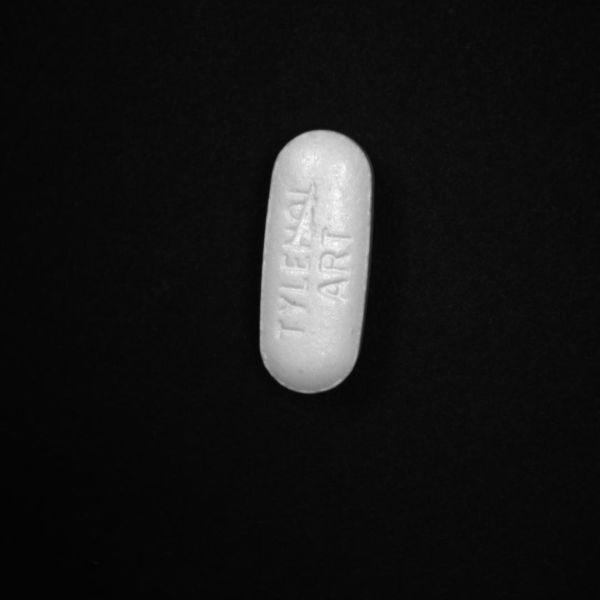
Augmenting an image can rotate, shear, change the brightness, distort, transform the perspective, and perform many other actions on the images to create more images to produce a dataset with a vast number of image orientations. The process of how to augment images will be discussed in the next section. An example of augmented images:
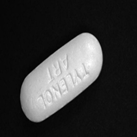
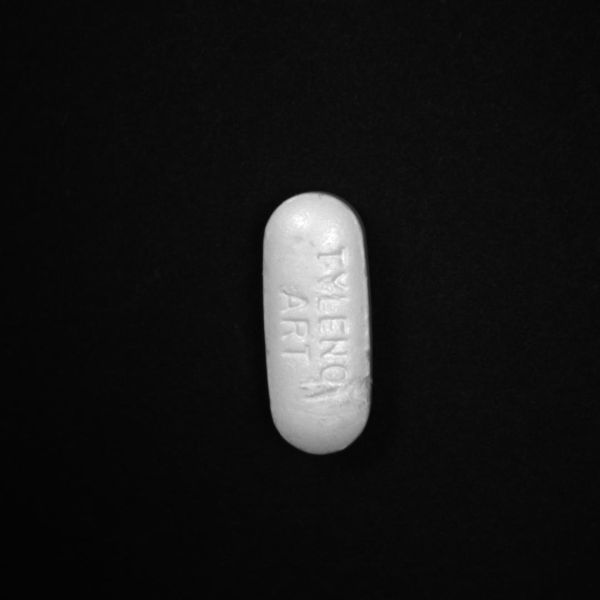
Original Image from the Tylenol dataset:
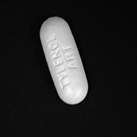
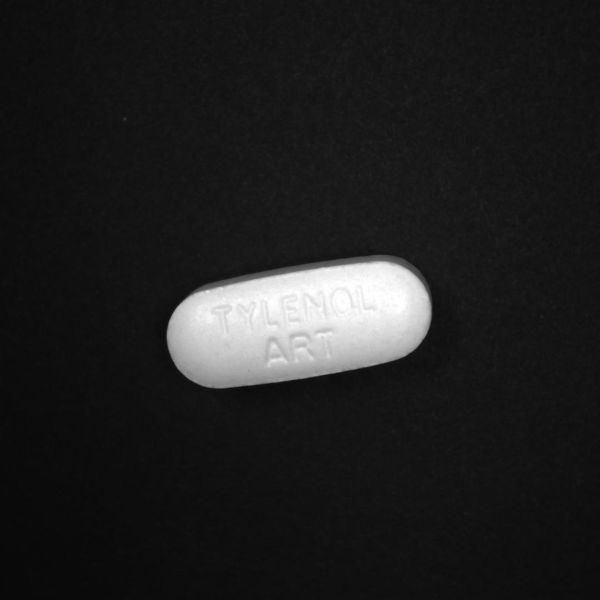
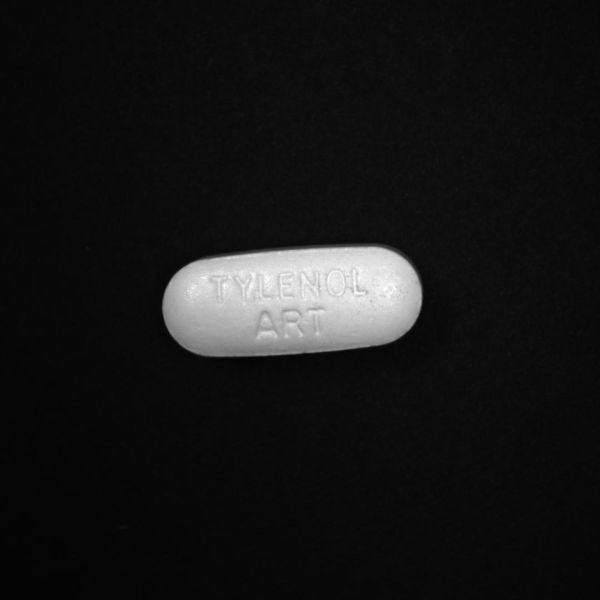
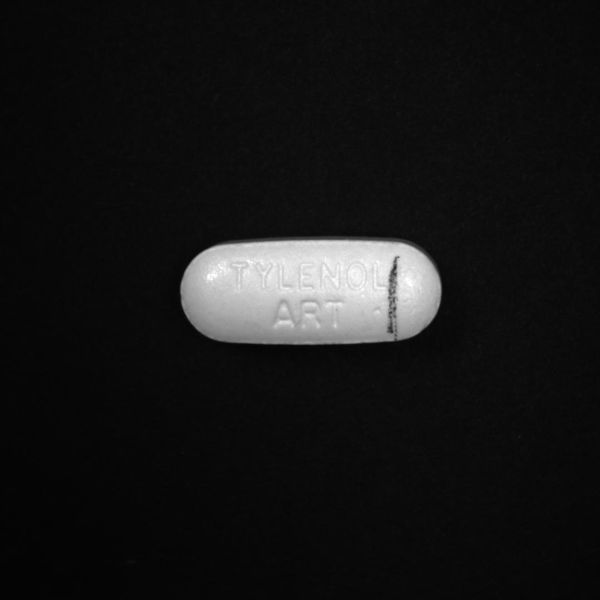
Augmented Images from that single image: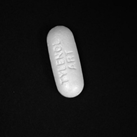
As seen in the example, we need to image in such a way that we can get the maximum types of augmented images from a single image. It is important to cover every factor in our datasets such as varying position, distance, angle, brightness and size.
Aim: Our aim for this deep learning classification was to classify between good and bad pills in our dataset. A good is any pill that doesn’t have any scratch, dirt or any other contamination on it whereas a bad pill is any pill that has a scratch, dirt, broken or contains visible contamination on the pill.
- How much training data is needed?: For a simple application, a few hundred images may be enough to deliver acceptable results, while more complex applications could require tens of thousands. The best way to determine your training data requirements is to gather data and test your model with it. Your network eventually reaches a point where additional data does not improve model accuracy. It is unlikely your model will achieve 100% accuracy no matter how big your training dataset is. In the Tylenol dataset, we took about 35 images of the good pill and 60 of the bad pills. The bad pills have more images because there are more possibilities in the bad dataset since it contains various kinds of scratches, dirt and visible contamination.
- Minimize differences between training and production data: Capturing images with the same cameras, optics, and lighting as the future production system eliminates the need to compensate for differences in geometry, illumination, and spectral response between training and live image data. If you are planning on having your application only work in an indoor setting with consistent lighting, your training data only needs to cover that setup. To make your retrained model more flexible, more training data for different scenarios would be essential.
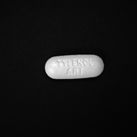
- Use controlled environments: A good training dataset includes examples of variation where expected and minimizes variance where it can be eliminated by system design. A model that performs consistently requires a very large dataset. A controlled environment is an area that must have certain parameters such as background, angles, distances and orientations controlled. Taking images in a controlled environment allows system designers to eliminate many sources of variance and achieve high-accuracy inference using a much smaller dataset. In our Tylenol dataset, we used a black background to increase the visibility of the white pills for the images. Also, we need to set the height of the camera in such a way that we capture all the fine details on the pill in every image. We need to make sure that when we augment the images by rotating and zooming into the image, the details of the pill are preserved. Additionally, the Region of Interest of the images was kept as a square (1024*1024) and centered to keep the consistency within datasets after rotating them vertically or horizontally.
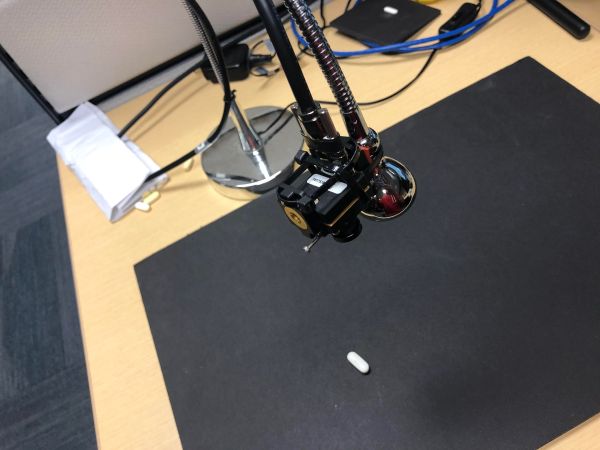
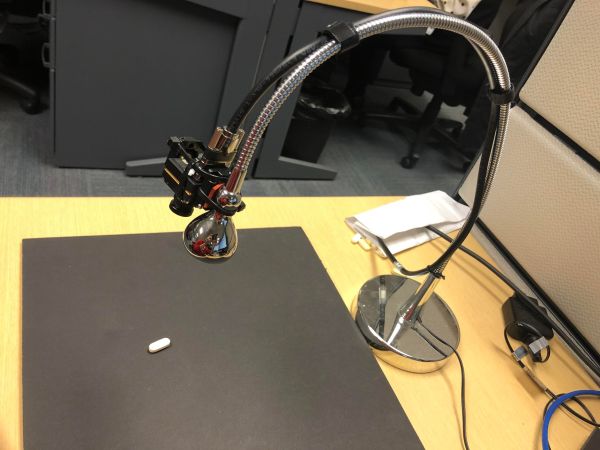
The black background makes sure the details of the pill are clearly visible.
- Make accurate categories: Images must represent the categories to which they belong. Inaccurate or noisy images are a common problem with datasets assembled using internet image searches. In either a classification or object detection neural network, every class or object you want to detect needs to have its own category. If you are looking for flaws in a pill, you would have training data for good pills and separate training data for bad pills.
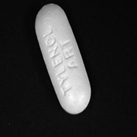
Good: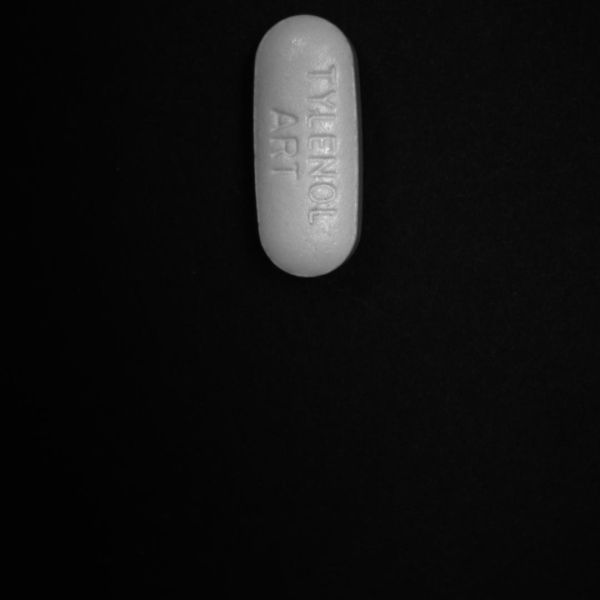
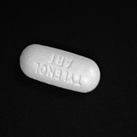
Bad:
In our Getting Started with Firefly Deep Learning application notes, the classification example script uses the folder structure to categorize images. Each category has its own folder with each folder being filled with jpeg images of that category/class. The individual image names don’t matter.
- Size of images: For the neural networks we have tested, the expected width/height of images can range from 28 pixels to 300. Any training data that is provided is eventually resized to fit the required input dimensions/shape for that neural network. Having training data similar to or greater than your desired neural network requirements is essential for getting the best results.
It can be helpful to save images larger than your neural network's requirements (for example saving images using the full resolution of your Firefly-DL camera) as it would allow for more flexibility when implementing augmentation (cropping, rotation, scaling, etc.), which would all occur before the image is resized.
How to augment images
Image data augmentation is a technique that can be used to artificially expand the size of a training dataset by creating modified versions of images in the dataset. Training deep learning neural network models on more data can result in more skillful models, and the augmentation techniques can create variations of the images that can improve the ability of the fit models to generalize what they have learned to new images. For augmentation, we can use pre-defined python libraries or write a better-customized python script according to the dataset.
Below we demonstrate a library named Augmentor which implements a really easy way to augment images. Here is a summary of the steps to be followed while augmenting the images using Augmentor:
- Install using pip from the command line:
| pip install Augmentor |
- To begin, instantiate a pipeline object that points to a directory on your file system. The package works by building an augmentation pipeline where you define a series of operations to perform on a set of images. Operations, such as rotations or transforms, are added one by one to create an augmentation pipeline: when complete, the pipeline can be executed and an augmented dataset is created.
| import Augmentor p = Augmentor.Pipeline("/path/to/images") |
- You can then add operations to the Pipeline object p as follows:
| p.rotate_ransom_90(probability=0.7) p.zoom(probability=0.5, min_factor=1.1, max_factor=1.5) |
We can use many more functions available in Augmentor’s library. The list of all the functions and the details on how to use them is available here. Every operation has at minimum a probability parameter, which controls how likely the operation is applied to each image that is seen as the image passes through the pipeline. Most of the functions are self-explanatory. The rotate_random_90() function rotates the image by either 90, 180, or 270 degrees. The zoom() function zooms into an image by a factor of 1.1 and zoom out by 1.5.
- Once you have created a pipeline, you can sample from it like so:
| p.sample(10000) |
This produces 10000 images from the dataset of images given by the pipeline object.
The script used for the whole operation for the augmentation is:
| import Augmentor import sys DIR = sys.argv[1] samples = int(sys.argv[2]) path = 'C:\\Users\\gusingh\\Work Folders\\Desktop\\tensorflow-for-poets-2-master\\tf_files\\centredPills\\'+DIR p = Augmentor.Pipeline(path) p.rotate_random_90(0.9) p.rotate90(0.5) #p.random_brightness(0.4,0.9,1) p.rotate(probability=0.9, max_left_rotation=20, max_right_rotation=20) p.sample(samples) |
An example of the command for producing 10000 sample images for good pills from a folder named “good” the directory of centred pills would be:
| python augmenting_script.py good 10000 |
Similarly, 10000 images for bad pills would be:
| python augmenting_script.py bad 10000 |
The results from Inference Network
After following the steps as stated in Getting Started with Firefly-DL on Windows, we got a .pb file which was retrained and typically achieved the final test accuracy above 90%. The results when tested on the Firefly-DL camera gave quite accurate results if compared to the small number of images used for this classification. There were a few instances where the classification gave inaccurate results in accordance with the pills shown to the camera.
An example of inaccurate classification for a contaminated pill: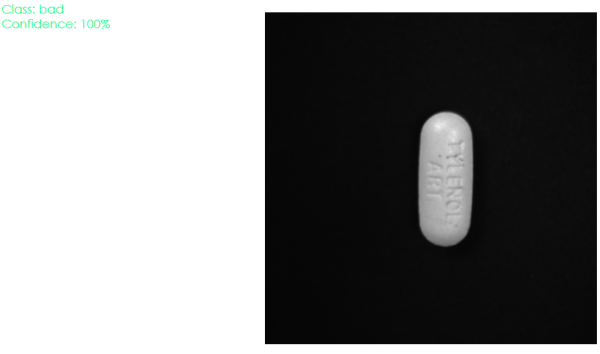
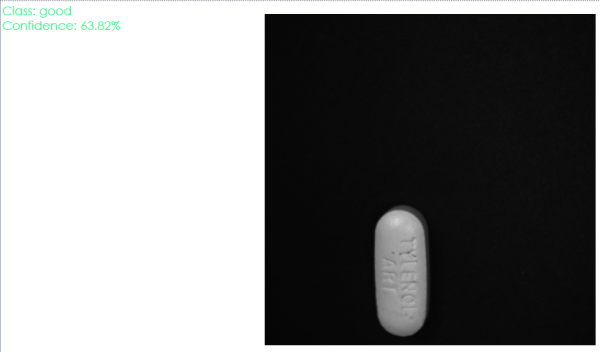
In the above example, we can notice that the classification in the first image is accurate and the confidence of the classification is 100% but when the same pill is placed in a different position, it is classified as good with a confidence of 63.82%. This suggests that there is a need to add more images for training and improve our augmentation script for better results.
See also Tips for Creating Training Data for Deep Learning and Neural Networks
Related Articles
-
 Deep Learning
Tips for Creating Training Data for Deep Learning Neural Networks
Read the Story -
Deep Learning
Getting Started with Firefly-DL in Windows
Read the Story -
Application Note
Getting Started with Training a Caffe Object Detection Inference Network
Read the Story